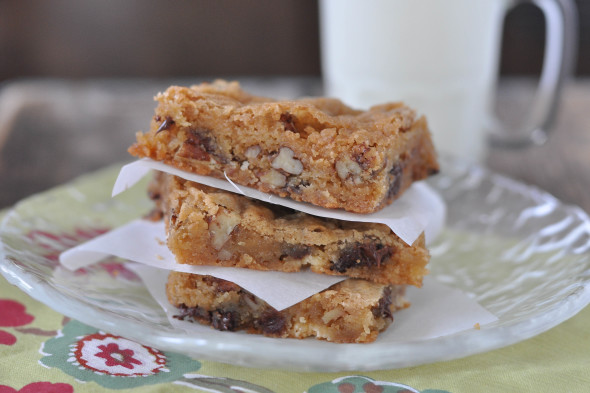
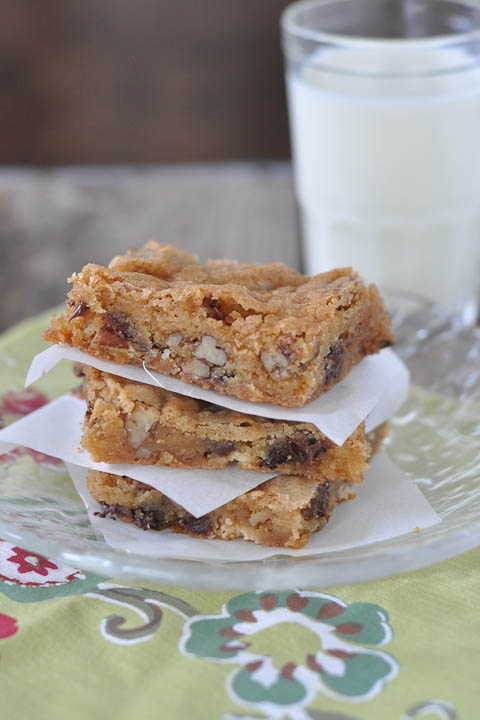
Santa works hard all year to make Christmas day magical for kids all over the world. He needs something caloric and high fat to sustain him through the night, don’t you think? Enter some ooey, gooey, fabulous blondies.
This was my first time making blondies and I was shocked with how good they were. I just assumed Blondies tasted as boring as they looked. With toasted nuts, white and dark chocolate, there was no chance of that happening. If you’re rummaging around your cupboards looking for ingredients to make a treat for Santa- try these. You’ll likely have everything you need on hand!
And just like that, it’s almost Christmas. We will be celebrating by ourselves in little ol’ Fort Leonard Wood, but are looking forward to a quick visit from my parents on the 26th. Then my daughter turns 3 on the 27th so we’ll have even more celebrating to do. As we approach the New Year, expect to see posts on a (hopefully) more regular basis. I’ll be sure to start the New Year off with some healthy good eats.
At the end of this post, I’ve linked up to some of my Holiday posts from last year. Enjoy your food and your company!
[print_this]
Blondies
INGREDIENTS:
1 1/2 cups all-purpose flour
1 teaspoon baking powder
1/2 scant teaspoon salt
1 1/2 sticks salted butter, melted and cooled
1 1/2 cups firmly packed light brown sugar
2 large eggs
1 1/2 teaspoons vanilla extract
1/2 cup white chocolate chips
1/2 cup semisweet chocolate chips
1 cups pecans, toasted and coarsely chopped
DIRECTIONS:
1. Preheat oven to 350 degrees. Line a 13×9 inch baking pan with parchment paper (or grease pan).
2. In a medium bowl, whisk the flour, baking powder and salt and set aside. In another medium bowl, beat the melted butter and brown sugar until combined. Add the eggs and vanilla and mix well. Using a rubber spatula, fold the dry ingredients into the wet ingredients until just combined. Do not over-mix.
3. Fold in the white and semisweet chocolate chips and nuts. Pour the batter into the prepared pan and smooth the top with the rubber spatula.
4. Bake until top is shiny, cracked and slightly firm to the touch, about 25 to 28 minutes. Do not over-bake, these will firm up after sitting. Place the pan on a rack and let cool completely before cutting into squares (cutting off edges if desired).
COOK’S NOTES: These bars sink a little in the middle and puff around the edges which is why you can discard (i.e. eat) the edges before cutting the rest into squares to make them more uniform in appearance. However, the edge pieces are some of the best so it’s not necessary for taste purposes.
[/print_this]
and if you missed these posts from last year, check them out if you still need menu ideas!
Stuffed Mushrooms
Marinated Goat Cheese with Herbs and Lemon
Vegetable Gratin
Herb Crusted Rack of Lamb
Cran-Apple Sauce
Merry Christmas friends!!!

 Herb Roasted Potatoes and Vegetables with Pumpkin Seed Vinaigrette
 Cranberry Apple Sauce
 Baked Apple Pancake {Grain-Free, Gluten-Free}
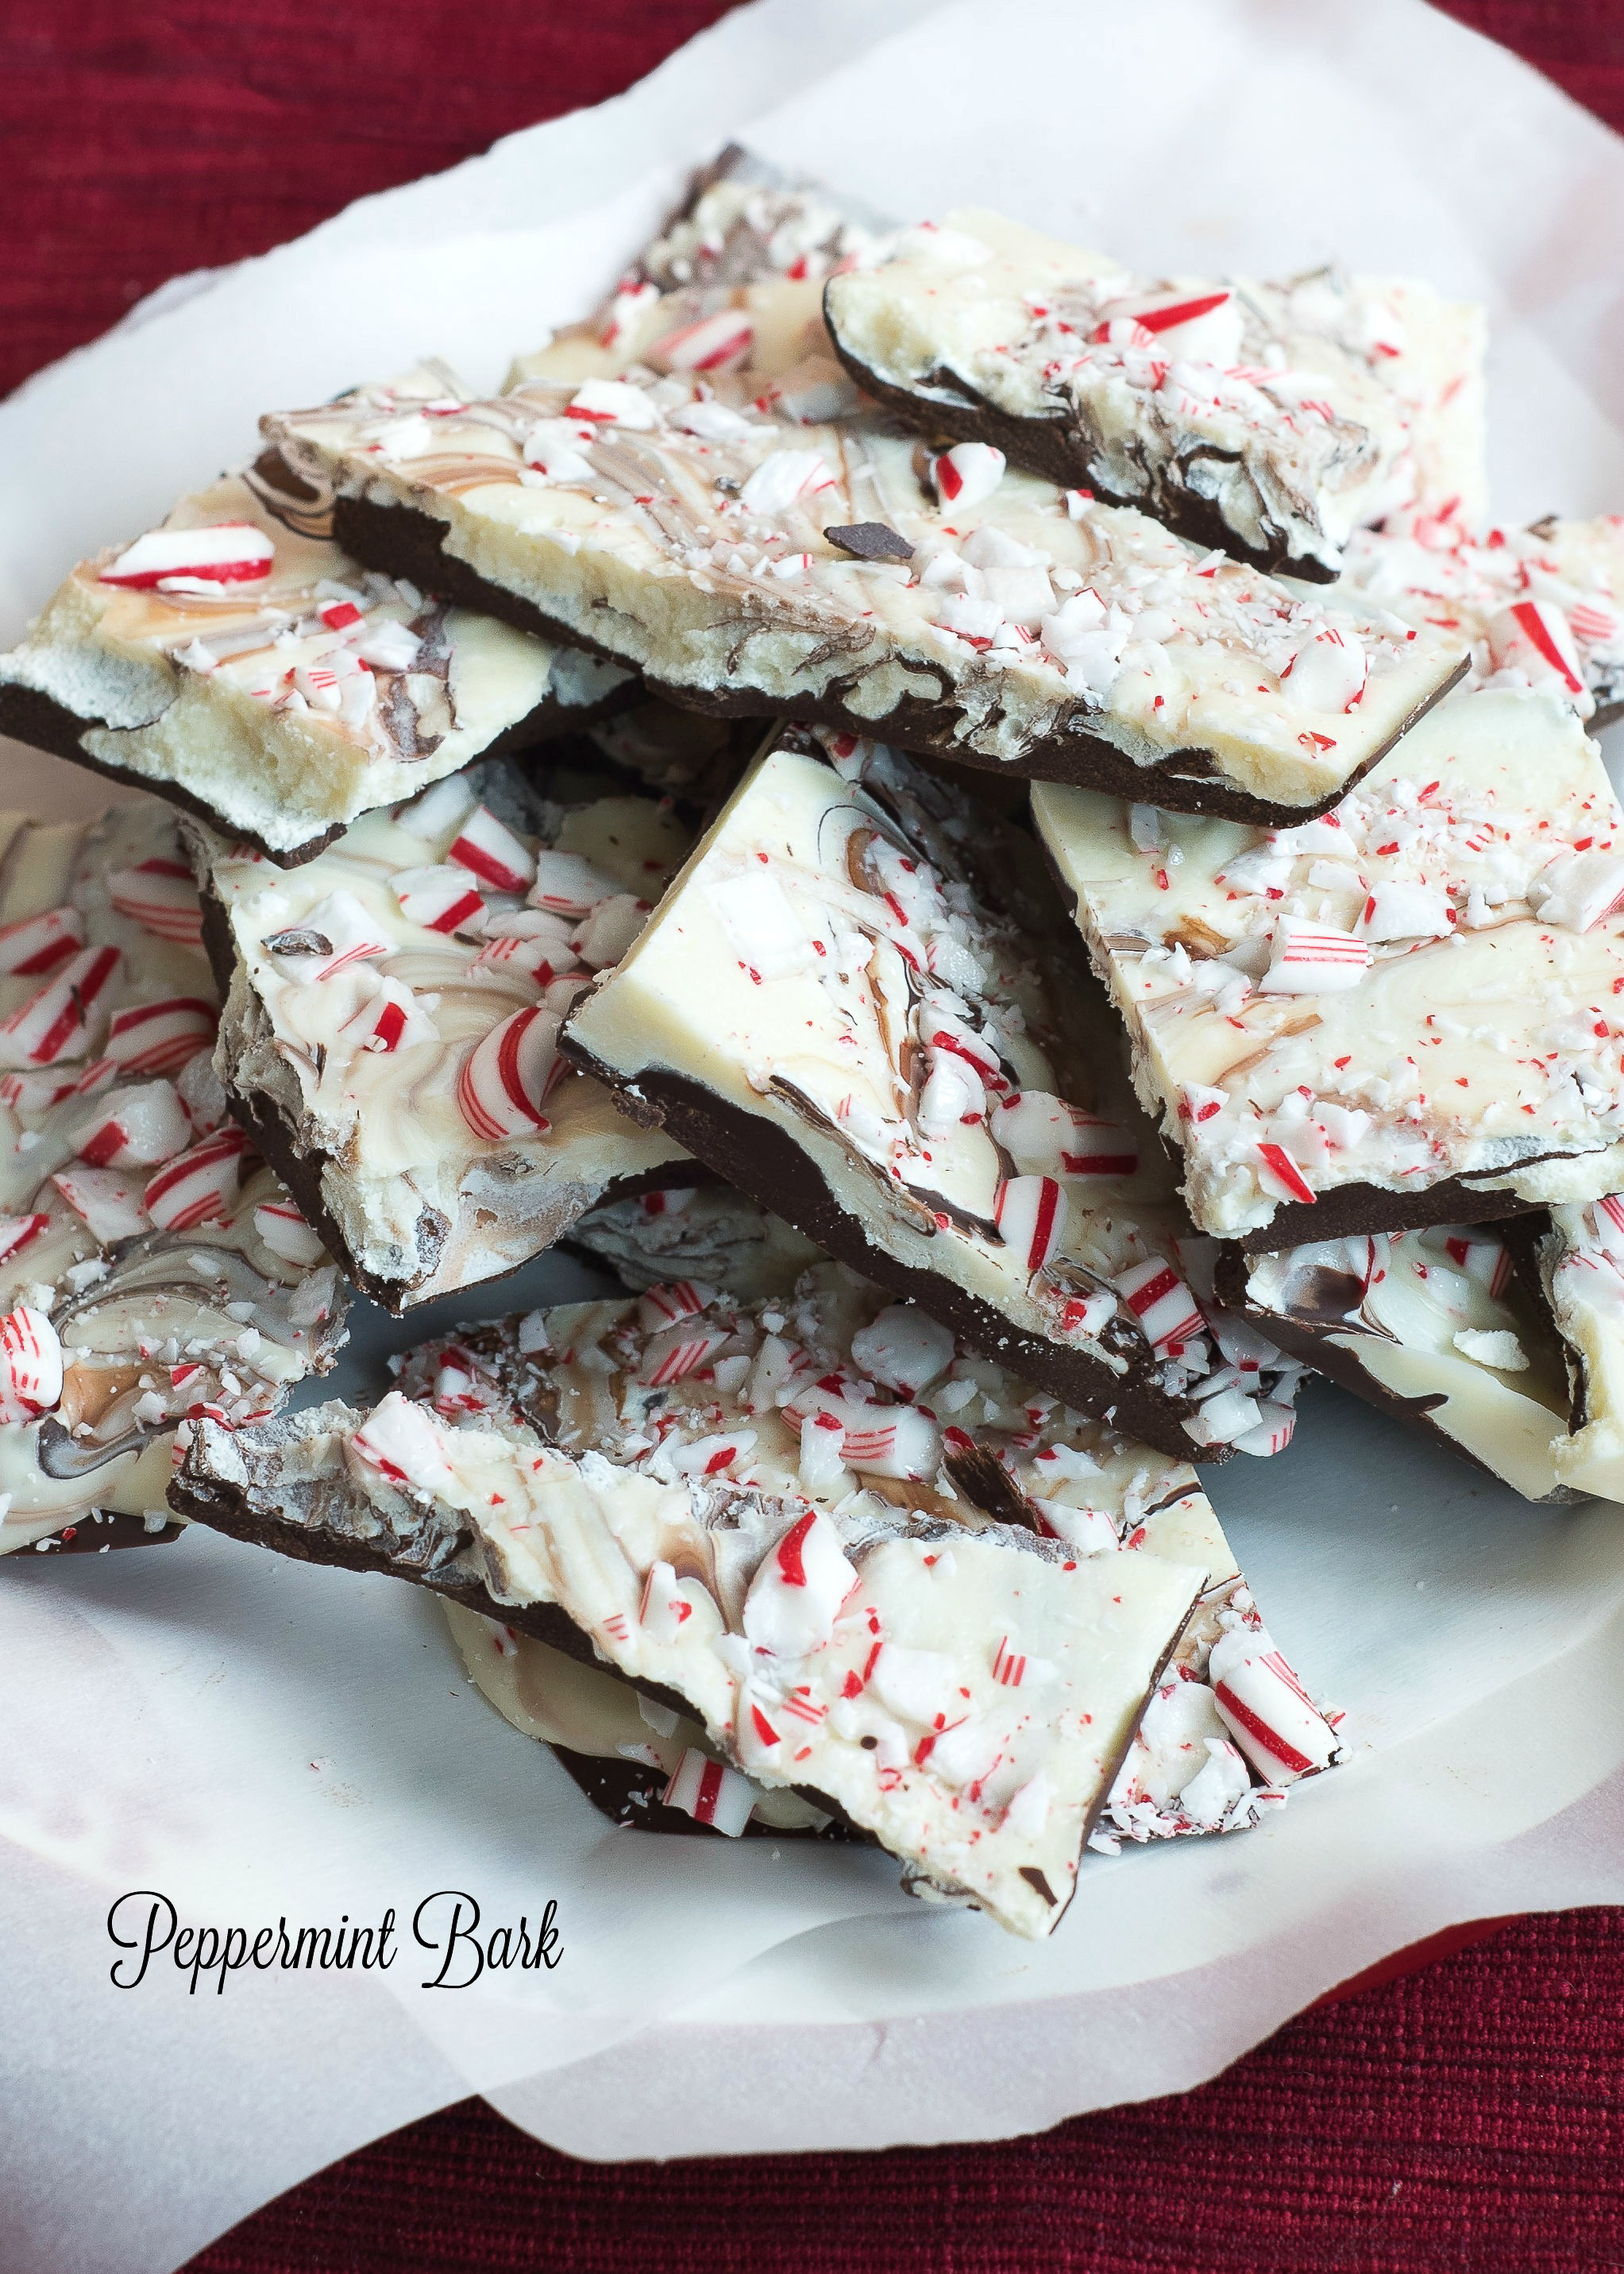 Peppermint Bark

Hi honey! Wow , those look so yummy! And those mushrooms look wonderful-would love to try those sometime-xo! Mimi