Get ready to bake some amazing fat-free, sugar-free, cholesterol-free, calorie-free goodies!
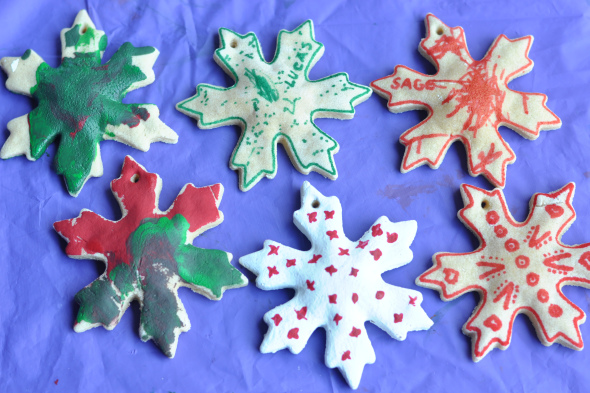
Ok, so they’re not edible……but still kind of like cookies. And you get to knead dough and bake and be creative. Interested?
I like sugar, don’t get me wrong. I just wanted to find a fun, healthy, Holiday activity that I could do with the kids that didn’t involve them ingesting tons of sugar. Mission accomplished. Snowflake salt dough ornaments!
By the way, you don’t have to have kids to make these. In fact, I have a lot of crafty, artsy friends that I am certain would make some beautiful ornaments. I love using inexpensive ornaments for gift tags as well. These would be perfect for that!
Just so you know, I will be holding on to our tradition of making homemade gingerbread houses and sugar cookies with the kids during Christmastime, but I wanted to find one more “sweet-free” activity that would be fun. This time of year (especially for kids) the majority of the Christmas activities involve lots of sugar. You’ve got decorating cookies at home, a playdate decorating cookies, special treats at school, bakesales, Holiday parties, etc. You see where I am going with this? There are a lot of opportunities for the sweets so why not organize one that is sugar-free?
This is the perfect activity to get your child “baking” with you. They can help mix the 3 simple ingredients or they can help roll the dough out…..or have them wait until your beautiful cookies bake and decorate them together.
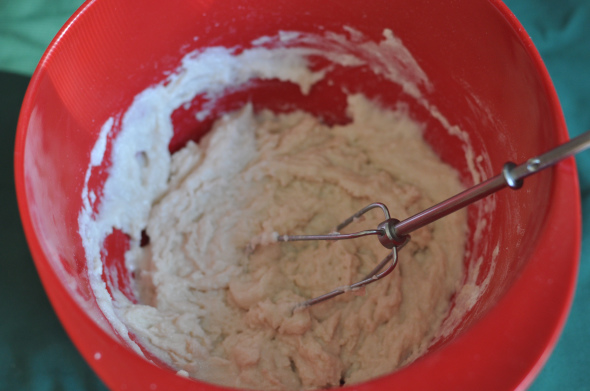
Mix (sorry terrible photo)
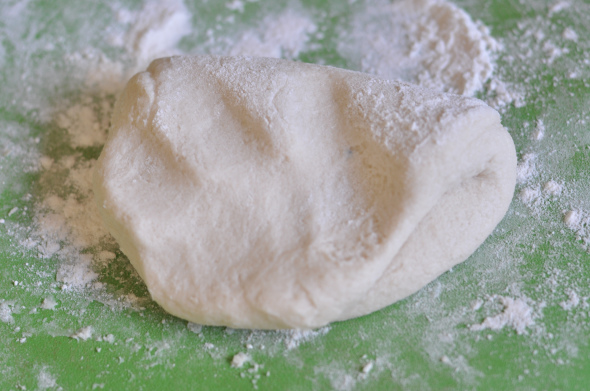
Knead
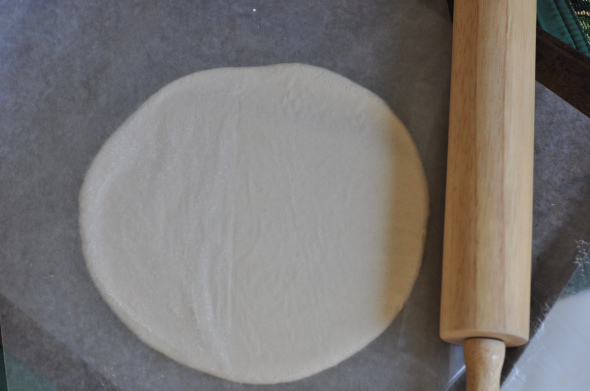
Roll
Bake
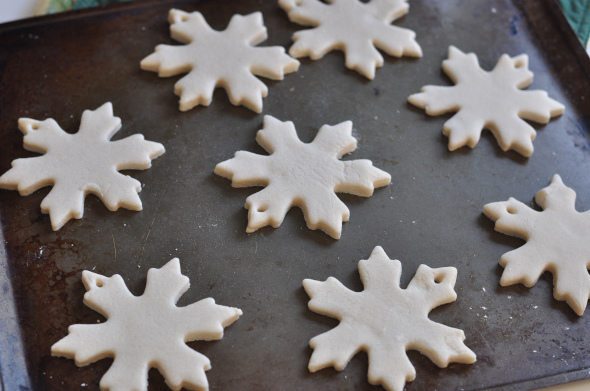
Admire
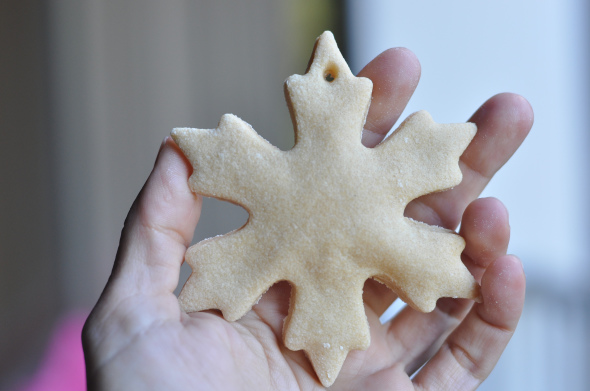
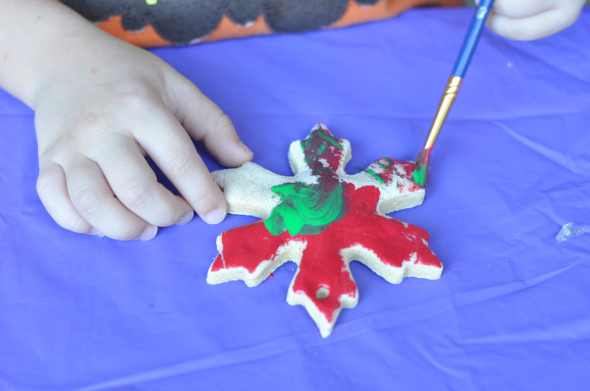
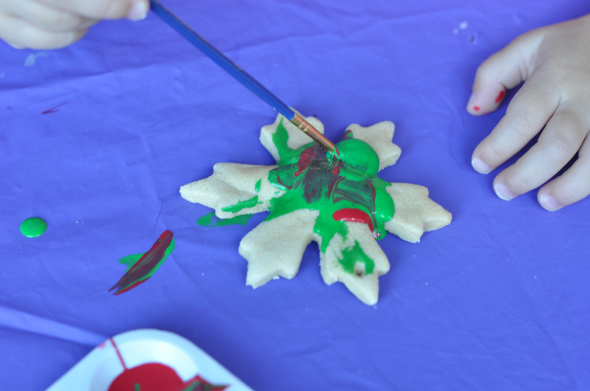
Paint
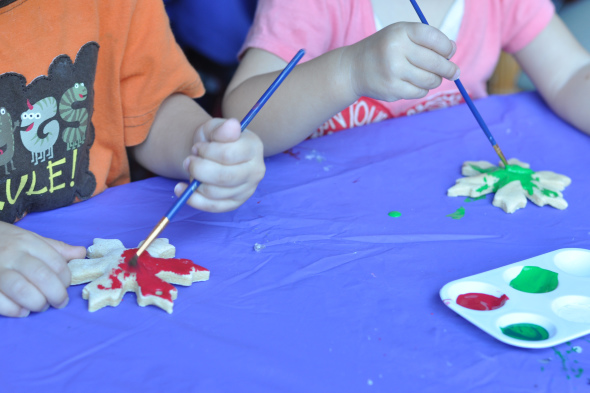
The kids and I did a trail run on this activity and it was a total success! We plan on organizing a playdate and doing it again. Feel free to do other shapes- the snowflakes are so pretty though in my opinion!
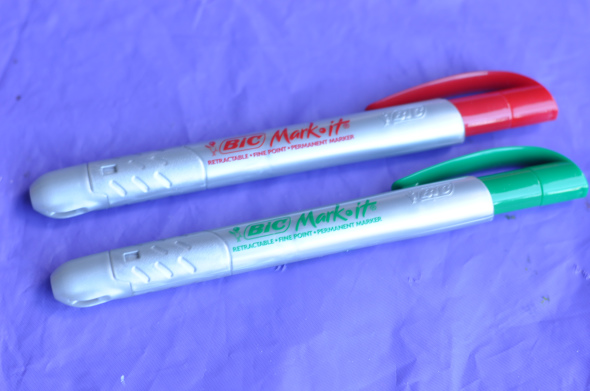
I used paints and permanent markers for decorating.
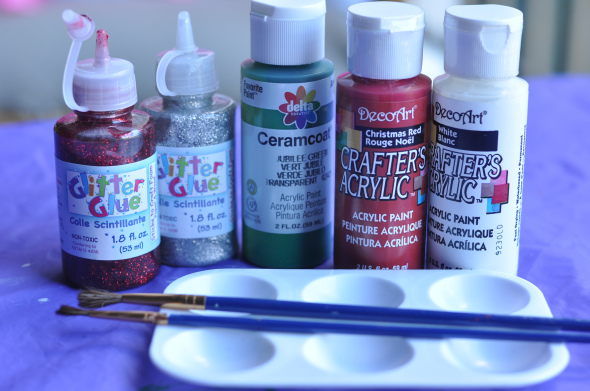
I bought this finishing gloss at the craft store. As soon as I put it on one of the ornaments, it turned all white and weird looking so I got out the spray paint finishing spray in glossy. Turns out the “weird” ornament turned out just fine after it dried a bit. A lot glossier than the spray so use which ever you’d like. I think the spray works best on the ones that are painted and the gloss works better on the markers.
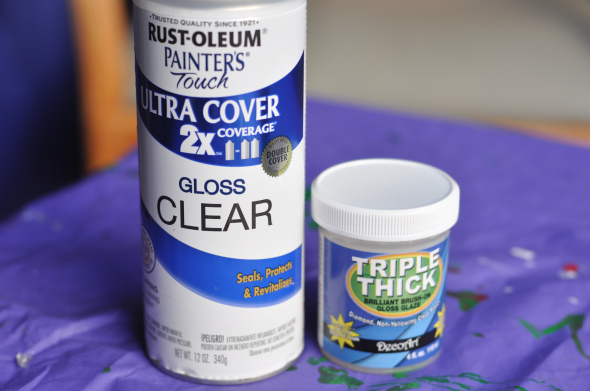
You can still do this activity without “glossing” them. So they might not last as long, but that’s ok. I don’t intend to keep all the ones we made anyway, just one from each kiddo. It is just such a fun, inexpensive activity!
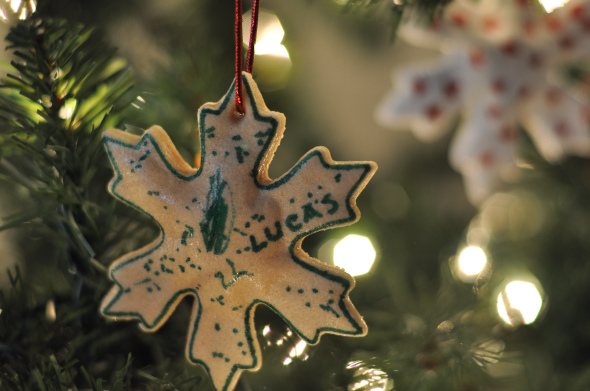
Oh the favorite part of all- hanging them on the tree!
This is the only one I coated in the thick gloss. Kind of hard to tell, but it is very glossy (note that the gloss did dull the color of the marker).
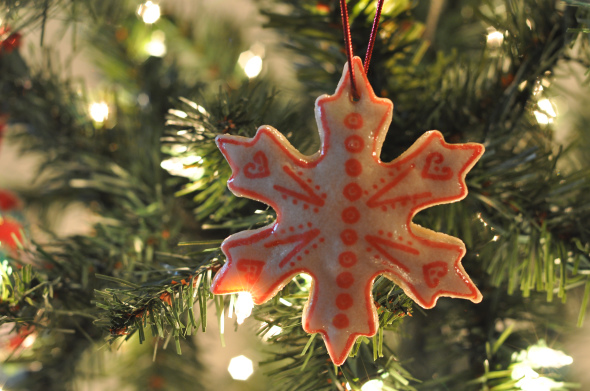
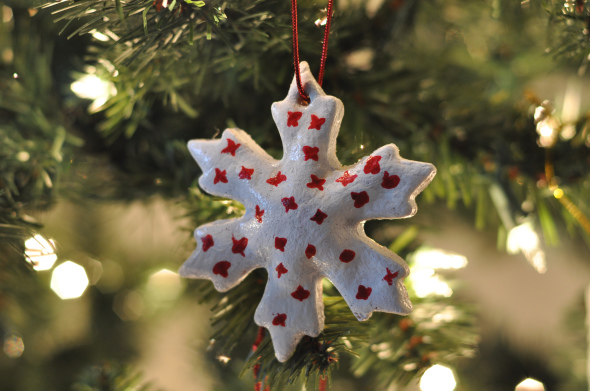
Used the spray on these two- note a little shinny but not as much as the first pic.
Here is the recipe
Salt Dough Snowflakes
INGREDIENTS:
1/2 cup salt
1 cup flour
1/2 cup water
OTHER MATERIALS:
parchment or wax paper
small drinking straw or bamboo skewer
fine-tip permanent marker
polyurethane gloss varnish
Red cording
DIRECTIONS:
1. Mix the salt, flour and water in a medium-size bowl. Stir together until a sticky dough has formed.
2. Place dough onto a well-floured surface and knead for ~7 minutes or until the dough feels sooth and elastic (add flour as needed if too sticky). Place on parchment or wax paper and roll out to 1/4 inch (see notes). Cut out “cookies” with Holiday cookie cutters and place on a cookie sheet. Use a straw or wooden skewer to press through and make a hole through the top of each snowflake.
3. Bake at 200 degrees for 4-6 hours. Let cool.
4. Decorate with permanent fine tip markers or paints. Once dry, coat with polyurethane gloss varnish or spray paint gloss finish (covering all surfaces). Let dry.
5. Thread cording through holes for hanging.
NOTES: 1) After I rolled out the dough it was too sticky for me to cut with the cookie cutters so I had to put it in the refrigerator to chill and firm up- probably for ~10 minutes. Then it worked great. 2) I left mine in for 6 hours then turned off the oven and stored them in there overnight. 3) Make sure the hole you punch goes all the way through the “cookie”. Otherwise it will be tough to get the cording all the way through to hang it. I came close on a couple because I realized the hole wasn’t as big in the back as it was in the front.

 Herb Roasted Potatoes and Vegetables with Pumpkin Seed Vinaigrette
 Cranberry Apple Sauce
 Baked Apple Pancake {Grain-Free, Gluten-Free}
 Peppermint Bark





Perfect timing, Mel! I have these on our advent calendar for this week and I hadn’t searched for a recipe yet. This looks great. 🙂
Love this idea! We use to make these when I was little. I can’t wait till my daughter’s old enough to do this 🙂